The Windows 10 Activity History also known as Timeline is like the browsing history of the internet browser. The Timeline can keep track of the apps and services you use, the files you open, and the websites you browse. Unlike before, you cannot check if what were the activities you were doing on the computer or the software that you previously opened. On the Windows 10 operating system, you can now go back to the previous activities you were on so that you can go back to the task that you need to go back to. It is like going back to the website that you were on before but you do not remember the title of the site. If the Activity History is turned off and you want to be able to store the history, you can easily turn on the Timeline.
Here are the steps to turn on the Activity History (Timeline) On Windows 10.
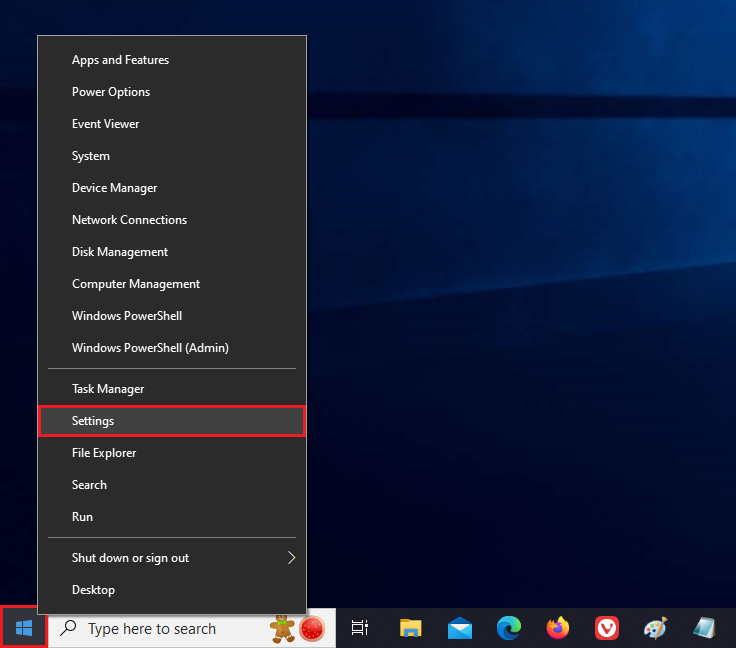
1. Right-click on the START button that is usually located on the bottom left corner of the screen and choose SETTINGS option.
2. Click the PRIVACY category.

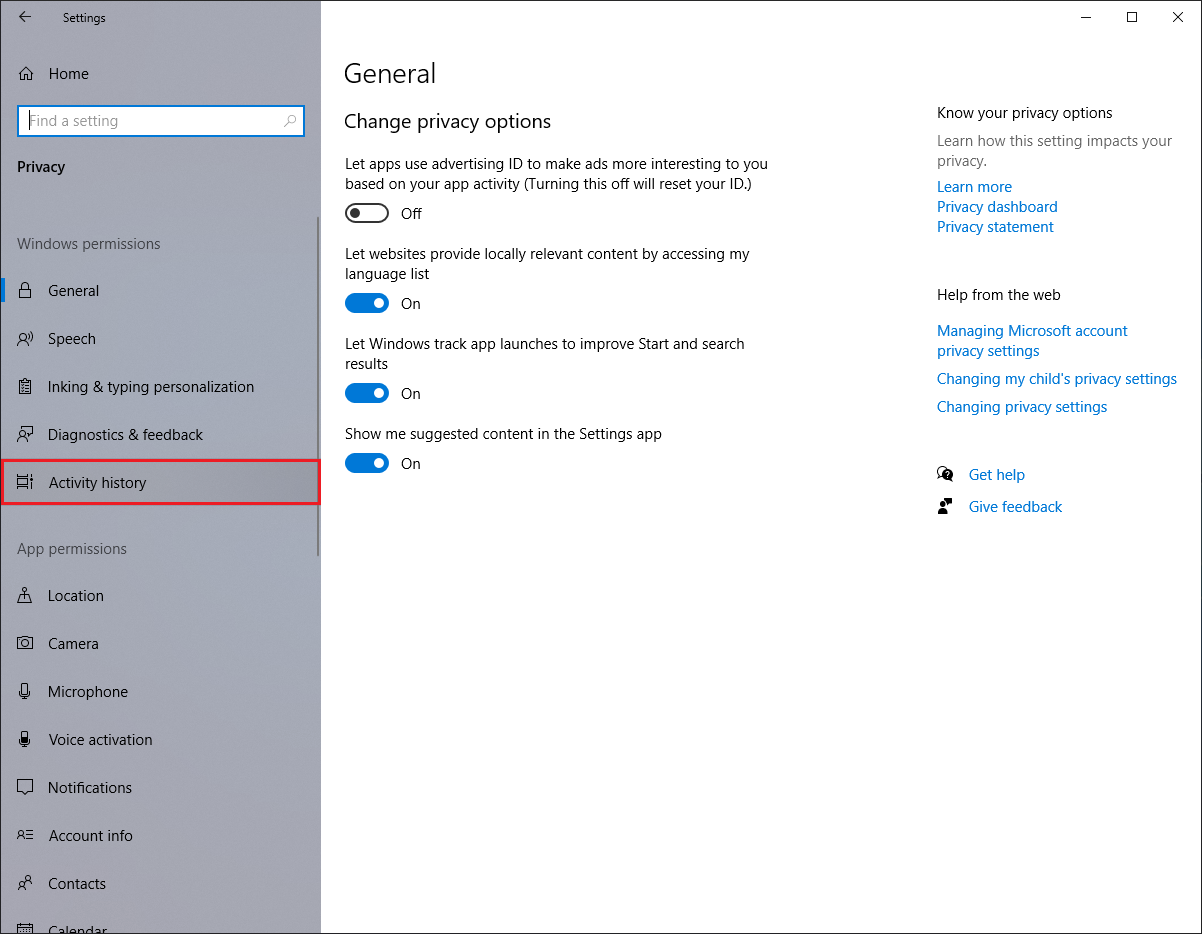
3. Click the ACTIVITY HISTORY on the left pane.
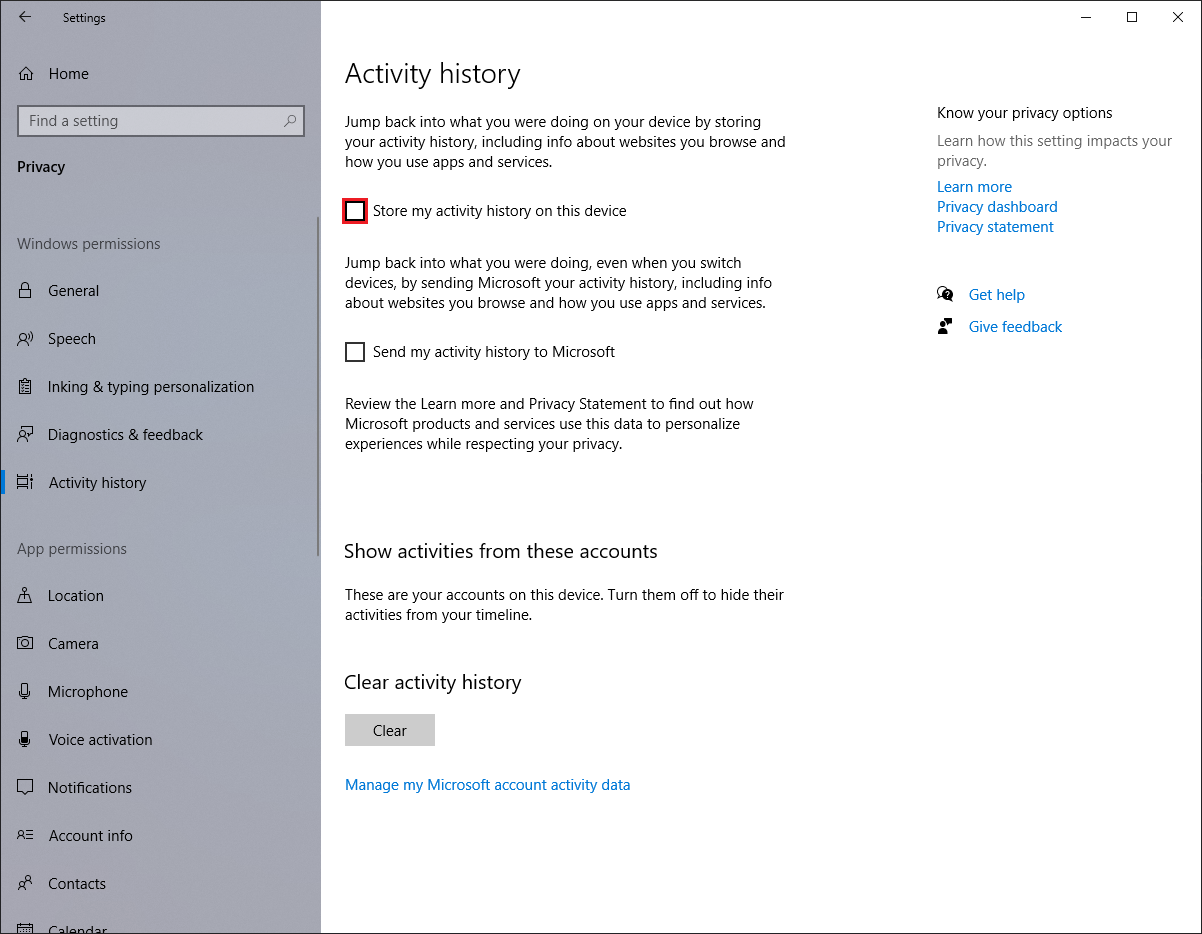
4. Click the check box labeled "Store my activity history on this device" to put a check in it.
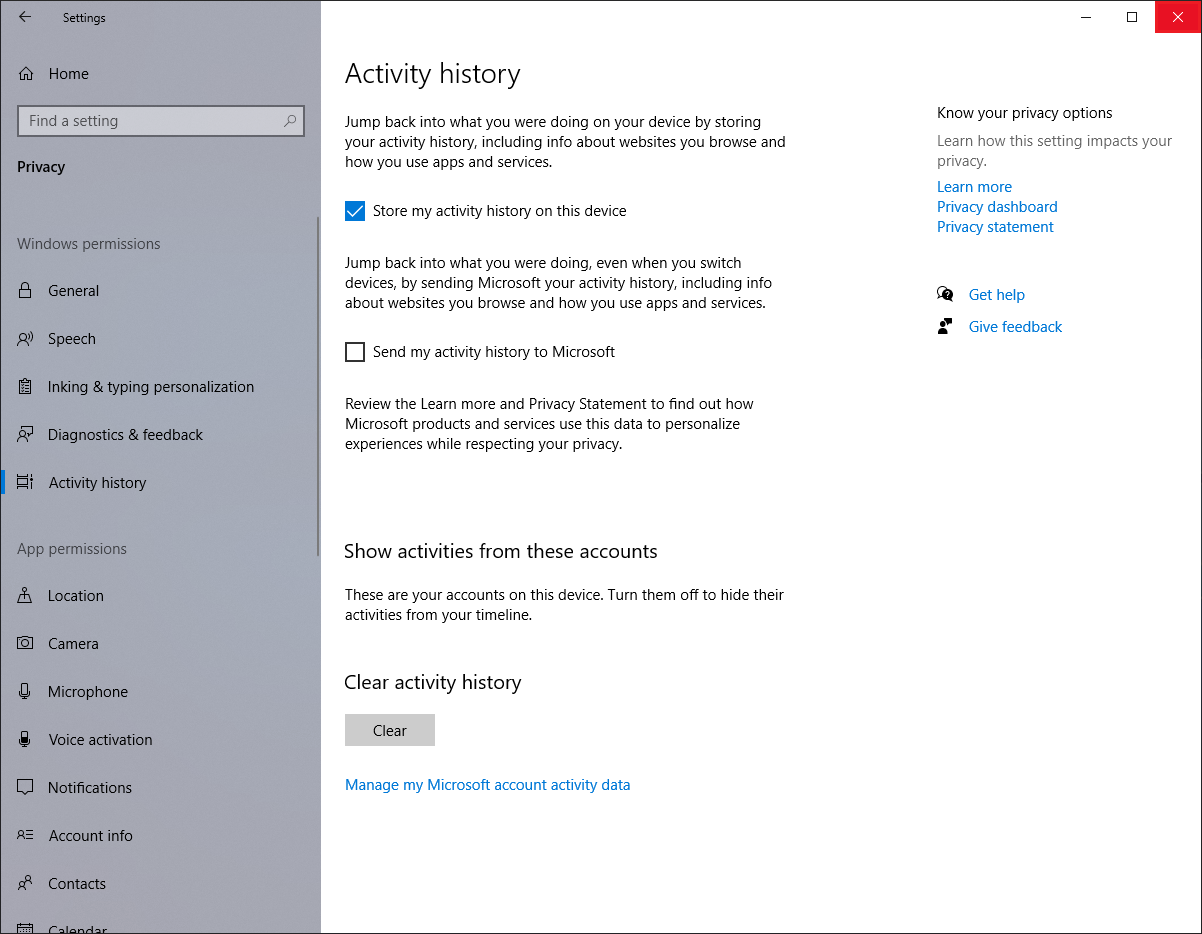
5. Click the red X button located on the top right corner of the Settings window.
Here are the steps to turn on the Activity History (Timeline) On Windows 10.
1. Right-click on the START button that is usually located on the bottom left corner of the screen and choose SETTINGS option.
2. Click the PRIVACY category.
3. Click the ACTIVITY HISTORY on the left pane.
4. Click the check box labeled "Store my activity history on this device" to put a check in it.
5. Click the red X button located on the top right corner of the Settings window.
No comments:
Post a Comment