Have you experienced opening a certain file, for example a .JPEG picture trying to open in a program that it is not related with? Have you got frustrated trying to open a picture sent to you by your family where it keeps opening in a Media Player instead of a Photo Viewer? Each file has their own specific program to open them and you cannot simply use any software to open them. For example, if you open a picture file using a word processor, you will just get a garbled document. Another example is if you are trying to open a picture, you should at least use a software that can open pictures, and that it can read the format of the picture that you are tying to open.
This happens when the file got associated to a software other than the software it should be opening.
To fix this, you have to set the file to its appropriate software. Like a .BMP file to Paint, .TXT file to Notepad, .MP3 to Windows Media Player, and so on.
Here are two sets of steps to set a file to be opened by a specific software on Windows XP.
FIRST METHOD
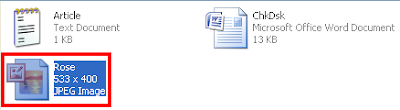
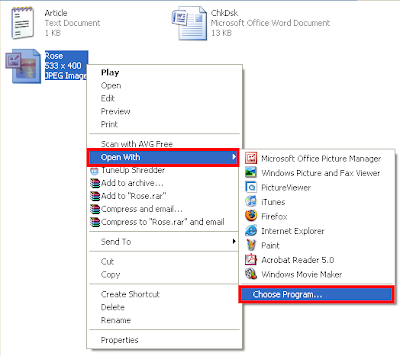
1. Right-click on the file that you are having problem with and choose OPEN WITH, then click CHOOSE PROGRAM... (In this example, we will deal with a .JPEG image file)
2. Click on the program that you want to be the default software to open .JPEG files on the "Programs" list to highlight it.
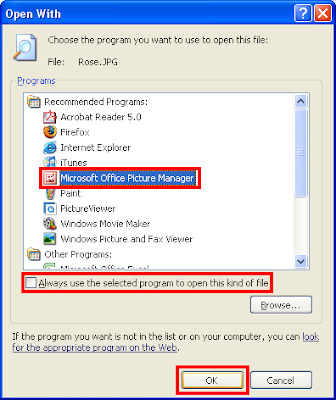
3. Put a check in the little box that says "Always use the selected program to open this kind of file".
4. Click OK button. (Each .JPEG files will now automatically open in the Microsoft Office Picture Manager in this example)
SECOND METHOD
1. Right-click on the file that you are having problem with and choose PROPERTIES. (Again, we will use the same .JPEG image file in this example)

2. Click the CHANGE button. If you will notice on the "Opens with:" category, this .JPEG file was defaulted to iTunes, which is obviously the wrong software to open any image files.
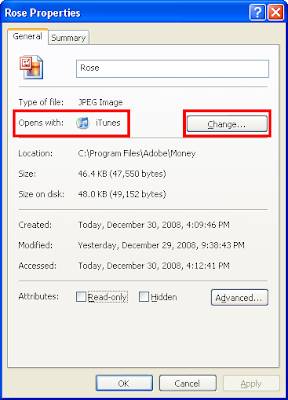
3. Click on the program that you want to be the default software to open .JPEG files on the "Programs" list to highlight it.

4. Click OK button.

This happens when the file got associated to a software other than the software it should be opening.
To fix this, you have to set the file to its appropriate software. Like a .BMP file to Paint, .TXT file to Notepad, .MP3 to Windows Media Player, and so on.
Here are two sets of steps to set a file to be opened by a specific software on Windows XP.
FIRST METHOD
1. Right-click on the file that you are having problem with and choose OPEN WITH, then click CHOOSE PROGRAM... (In this example, we will deal with a .JPEG image file)

2. Click on the program that you want to be the default software to open .JPEG files on the "Programs" list to highlight it.

3. Put a check in the little box that says "Always use the selected program to open this kind of file".
4. Click OK button. (Each .JPEG files will now automatically open in the Microsoft Office Picture Manager in this example)
SECOND METHOD
1. Right-click on the file that you are having problem with and choose PROPERTIES. (Again, we will use the same .JPEG image file in this example)

2. Click the CHANGE button. If you will notice on the "Opens with:" category, this .JPEG file was defaulted to iTunes, which is obviously the wrong software to open any image files.

3. Click on the program that you want to be the default software to open .JPEG files on the "Programs" list to highlight it.

4. Click OK button.
No comments:
Post a Comment